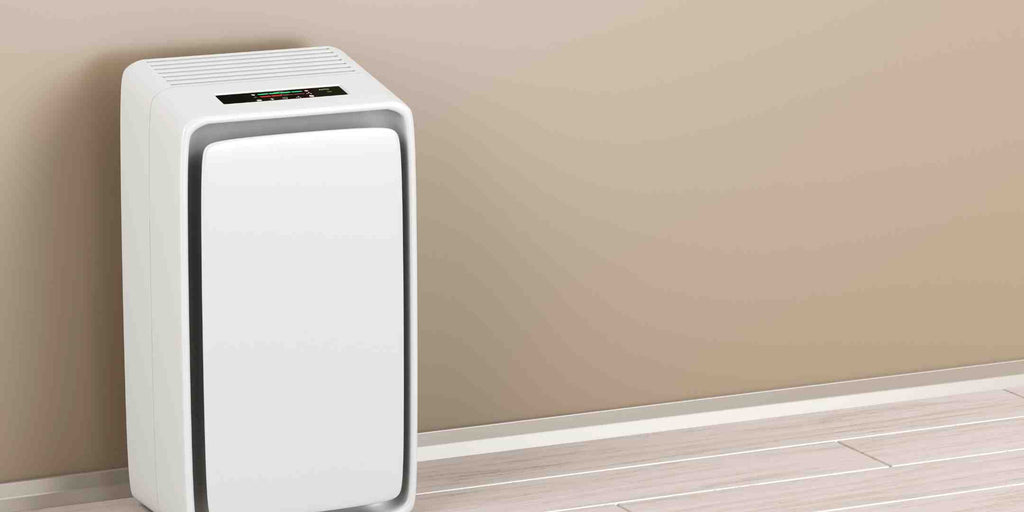
Your air conditioner portable is your go-to summer ally, always prepped to beat back those warm days. But, like any reliable buddy, it occasionally craves a bit of upkeep and TLC.
Carving out a moment to spruce up your portable AC isn't just a cleanliness thing; it's about ensuring it's always in fighting form. It might be time for extra TLC if your pad is a dust magnet or has that sticky, humid vibe.
Eager to get started? In this piece, we'll share 5 uncomplicated steps to refresh your portable cooling buddy with a twist. We will be using some DIY solutions to clean it. Whether it's your routine check-up or you're gearing up for its hibernation, let's ensure it's primed and ready!
Here's our simple "how to clean aircon" guide to get you started.
Step 1: Preparing Your Air Conditioner Portable for the Clean Up
- Before you dive into the "how to clean portable air conditioner" process, safety first! Ensure your unit is unplugged to avoid any electrical mishaps.
- Position your air conditioner in a steady and secure spot. This ensures a smooth cleaning process without any wobbly interruptions.
- Round up all the cleaning essentials you'll need. This can range from soft brushes to mild detergents or any other DIY cleaning solutions you prefer.
- While DIY methods work wonders for regular upkeep, there might be times when you need a deeper cleanse. That's when you think about a portable air conditioner cleaning service to give your unit some professional pampering.
Step 2: DIY Cleaning of the Air Filter

- First, gently pull out that portable air conditioner filter. Give it a little wiggle to shake off surface dust. If "how to clean aircon filter" has been on your mind, you're on the right track.
- Grab a bowl or container and blend some mild detergent with water. This gentle mix is your go-to for a filter-friendly cleanse.
- Dip the filter into your homemade mix. Using soft strokes, scrub away any lingering dirt or particles. Once it looks spick and span, rinse it well and let it bask in the air to dry. Remember, keeping the filter clear is essential for top-notch air conditioner dust removal.
- If you aim for that gold star in maintenance, consider a spray for air conditioner filters. It's like a protective shield, ensuring your filter stays cleaner for longer and battles against pesky dust invaders.
Step 3: Cleaning the Condenser and Coils with Homemade Solutions
- Time to play a bit of chemist! Combine water with a dash of mild detergent or some vinegar for a natural touch. This blend is perfect for tackling the portable aircon condenser and those intricate coils.
- Using a soft brush, especially an aircon fins cleaner, delicately brush over the condenser and those portable air conditioner coils. This helps in dislodging any stubborn grime or dust.
- Dampen a cloth with your DIY mix and gently wipe the condenser and coils. Be cautious here; ensure no liquid sneaks into the electrical parts. Safety first!
- It's worth noting that regular portable aircon cleaning is your best bet against dirt buildup. Keeping those coils and condensers clean ensures your unit runs smoothly and efficiently.
Step 4: Cleaning the Exterior and Interior Components
- Grab a cloth, dampen it with water and vinegar, and give the outside of your AC a good wipe. If you've been pondering how to clean AC unit outside, this simple method works wonders. It's not just about aesthetics; it's about ensuring optimal performance.
- Now, for the cleaning AC unit inside part. Focus on the vents and any other corners. These areas can often be dust traps, so a thorough AC dust cleaning is essential to keep the airflow smooth and clean.
- While DIY methods are fantastic for regular upkeep, sometimes those hard-to-reach spots demand more expertise. That's where portable aircon servicing comes into play. Consider it for those intricate areas or when your unit could benefit from a professional once-over.
Step 5: Re-assembling, Testing, and Maintaining
- After double-checking that every component is thoroughly dry, it's time to fit everything back in place. Think of it as assembling your favourite puzzle, where each piece snugly finds its home.
- Plug that baby in and let it do its thing. Keep an ear out for any out-of-the-ordinary sounds and check if it's delivering that cool breeze. It's essential to ensure all is well after our cleaning spree.
- While giving it a good clean is vital, the real magic lies in consistent check-ins. And while our hands-on approach works wonders, there are moments when you might need an expert's touch. Whether it's a routine portable aircon servicing or a hiccup that screams portable aircon repair, remember there's no shame in seeking a pro from a reputable portable air conditioner service.
Key Takeaway:

Embarking on DIY cleaning adventures for your air conditioner portable maintenance isn't just about pinching pennies. It's about genuinely getting to know your gadget, ensuring it stays with you for the long haul, and feeling a sense of accomplishment in its care. Taking a hands-on approach and staying ahead in your portable aircon cleaning practices means paving the way for top-notch efficiency and a refreshingly chilled ambience. Are you considering buying a new portable aircon? Give Megafurniture’s top portable AC a notch.
Speaking of comfort at home, if you're in the mood to spruce up other corners of your home, give these readings a peek:
Interior Design Singapore: Best Firms for Your Next Home Renovation
Your Ultimate Cheat Sheet to Renovation in Singapore: HDB Guidelines, Procedures & Tips
Bonus Treat: More DIY Cleaning Solutions for your Portable Air Conditioners
Coil Cleaner
Mix equal parts of warm water and white vinegar in a spray bottle. Lightly mist the solution onto the coils, let it sit for a few minutes, then gently brush off any dirt or grime. Make sure the unit is unplugged before doing this.
Filter Freshener
Combine water with a few drops of tea tree oil or eucalyptus oil in a spray bottle. Spray lightly onto the filter after cleaning. These essential oils have natural antibacterial properties and can help freshen the filter.
Exterior Wipe
Mix a few drops of mild dish soap in warm water. Dampen a cloth with the solution and wipe down the unit's exterior. This will help remove any dust or stains.
Vent Cleaner
Combine 2 cups of water with 1 cup of white vinegar. Dip a soft cloth or sponge into the solution and gently clean the vents. This will help remove any dust or buildup.
Deodoriser
Fill a spray bottle with water and add 10-15 drops of lemon or lavender essential oil. After cleaning, lightly mist the interior (avoiding electrical components) to leave a fresh scent.
Drain Tray Cleaner
Mix equal parts of white vinegar and water. Pour the solution into the drain tray, let it sit for 10-15 minutes, and then rinse. This will help prevent mold and mildew growth.
Clog Remover
If the drain seems clogged, mix equal parts of baking soda and white vinegar and pour it down the drain. Let it fizz for about 15 minutes, then rinse with warm water.
Fan Blade Cleaner
Combine 2 cups of warm water with a few drops of mild dish soap. Use a soft cloth dipped in the solution to gently wipe down the fan blades.
Mould Preventer
Mix water with a few drops of grapefruit seed extract in a spray bottle. After cleaning, lightly mist the interior components. Grapefruit seed extract is a natural mould inhibitor.
Rust Preventer
If you notice any parts starting to rust, you can mix equal parts of lemon juice and white vinegar. Apply to the rusted area, let it sit for a few minutes, then scrub with a brush.


